 how-to
Water Softener Bypass Valve Leaking: How to Fix It
Table of Contents
- What to Do First: Safety and Immediate Steps
- How to Identify Where Your Water Softener Is Leaking
- How to Put a Water Softener on Bypass Mode
- Water Softener Bypass Valve Troubleshooting: Inspecting and Relieving Pressure
- Water Softener Leaking from Drain Line: Diagnosis and Solutions
- Water Softener Leak Repair: Replacing O-Rings, Seals, and Fittings
- Testing Your Repair and Returning to Normal Operation
- When to Call a Professional Plumber
- Frequently Asked Questions
Last Updated: October 11, 2026
What to Do First: Safety and Immediate Steps
A water softener bypass valve leaking demands quick action to prevent water damage and system failure. The first thing to do is locate your softener and assess how much water is escaping. Turn off the water supply to your home at the main shutoff valve. This stops additional water from entering the system and gives you time to evaluate the leak without pressure building up.
Place towels or a bucket under the leak. Check if water is coming from the bypass valve itself or nearby connections by looking for pooling around the valve assembly, fittings, or drain line. Document the location with a photo for reference if you need professional help.
How to Identify Where Your Water Softener Is Leaking
A systematic inspection of six common leak points will pinpoint the exact source and determine whether a simple seal replacement or professional service is needed.
Step 1: Locate the Water Entry Point
Start at the inlet connection where hard water enters your softener from the main supply line, typically at the bottom or side of the control valve assembly. If water is leaking here, tighten the connection by hand first; if it continues to drip, the seal may need replacement.
Step 2: Inspect the Bypass Valve Body and Stem
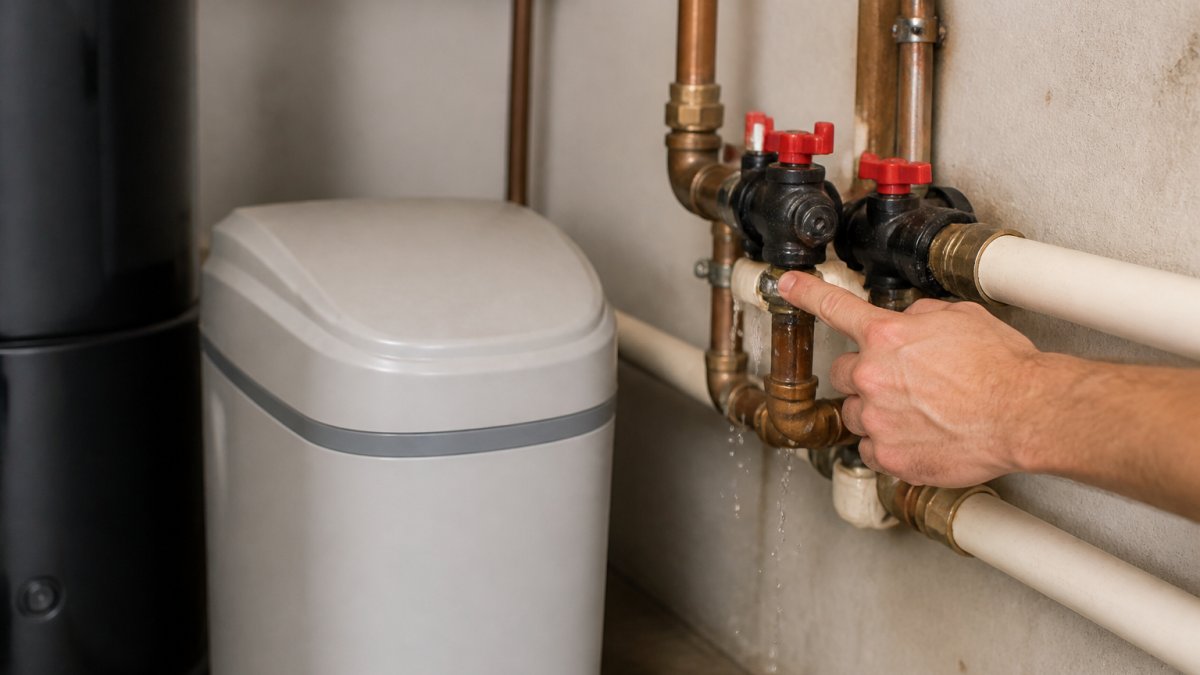
Examine the bypass valve for visible cracks, corrosion, or mineral buildup. Water dripping from the valve body, handle stem, or connection points indicates a leak. If water weeps from under the handle, a worn O-ring is likely. If the valve body is cracked, the entire assembly must be replaced.
Step 3: Check All Connection Fittings
Trace every fitting where the bypass valve connects to the control valve and water lines. Feel for moisture at each joint. Loose fittings are a common cause of bypass-area leaks. Mark any loose connections so you can address them during repair.
Step 4: Examine the Drain Line and Drain Elbow
Follow the drain line from your softener to where it exits your home. Look for cracks, splits, or loose connections. Pinch the drain line gently, it should feel flexible, not brittle. A cracked drain elbow or loose clamp can produce water pooling near the bypass area. Tighten any clamps or replace the cracked section.
Step 5: Inspect the Overflow Hose
Locate the overflow hose connected to the top of the control valve. Check that it is firmly seated and free of visible damage, as cracks or disconnections can produce water dripping near the bypass valve.
Step 6: Assess the Control Valve Assembly
Water pooling near the control valve body (distinct from the bypass) requires professional diagnosis, as internal seals or the valve itself may be damaged.
Temperature and Pressure Clues
Feel the water dripping from the suspected leak point. Warm water suggests the leak originates from the softened water line; cold water points to the hard water supply or drain line.
How to Put a Water Softener on Bypass Mode
Putting your softener on bypass stops water from flowing through the resin tank, allowing you to continue using water while you troubleshoot or repair the bypass valve. This is a temporary measure used only during diagnosis or repair.
Locating Your Bypass Valve
The bypass valve is part of the control valve assembly, typically mounted on top of the main control head. Look for a handle, lever, or knob protruding from the valve body. Consult your softener's manual or look for a label indicating "bypass" and "service" positions.
Understanding Bypass vs. Service Positions
Most bypass valves have three operational positions: Service (handle aligned with inlet/outlet ports, water flows through softener), Bypass (handle rotated 90 degrees, water flows directly to home), and Neutral (isolates system entirely). Check your manual for markings showing these positions.
Operating the Bypass Valve Safely
Before turning the handle, relieve system pressure by turning off the main water supply, opening a nearby faucet, and pressing the relief valve on top of the control valve assembly. Once pressure is relieved, grasp the bypass handle firmly and turn it slowly 90 degrees to the bypass position. If the handle is stuck or requires hard force, stop immediately and call a licensed plumber.
Confirming Bypass Mode is Active
After turning the handle, verify bypass mode is active by opening a faucet and observing water pressure and clarity. If pressure is normal but water is no longer softened, bypass mode is active. If pressure drops or the system makes unusual noises, turn the handle another quarter turn.
Returning to Service Mode
Once repairs are complete, return the bypass valve to service position by turning the handle another 90 degrees. Turn on the main water supply slowly and open a faucet to let air escape. Once water flows normally and feels softened, your system is back in service.
Water Softener Bypass Valve Troubleshooting: Inspecting and Relieving Pressure
Before you inspect or repair anything, relieve the pressure inside the system. Pressurized water can spray out unexpectedly and cause injury.
Shutting Off the Water Supply
Find the main water shutoff valve, usually located near the water meter or where the main line enters your house. Turn the valve clockwise until it stops. Next, turn on the nearest faucet and let water run for 10-15 seconds to release pressure from the pipes.
Relieving Pressure Before Repairs
Look for a small relief valve on top of the control valve assembly. Press it gently to release any remaining pressure inside the tank. Hold a cloth underneath to catch any water spray. After pressing the relief valve, the bypass handle should move freely without pressure resistance.
Inspecting the Bypass Valve and Connections
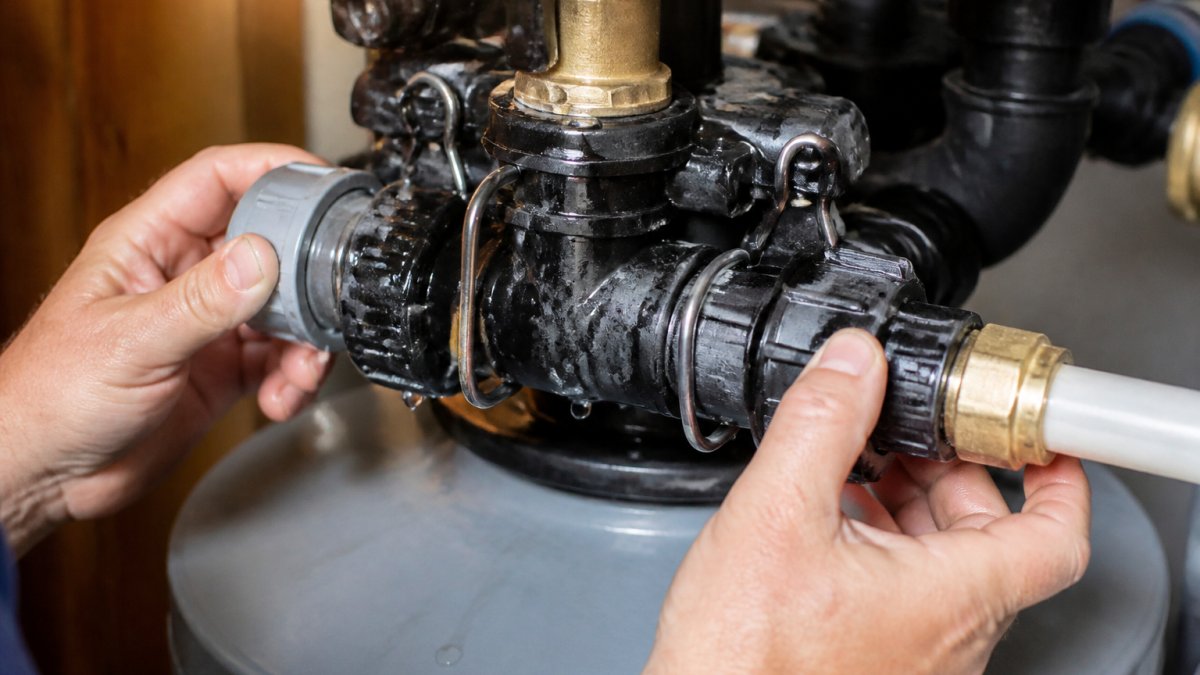
Examine the bypass valve body for visible cracks or damage. Look at connection points where the bypass valve attaches to the control valve, these should be tight and dry. Check the O-rings and seals around the bypass valve stem; if water weeps from under the handle, a worn O-ring is likely. Inspect all fittings for corrosion or mineral buildup.
Water Softener Leaking from Drain Line: Diagnosis and Solutions
The drain line carries waste water out of your softener during regeneration. A leak here is separate from a bypass valve issue but equally important to fix.
Trace the drain line from your softener to where it exits your home. Look for cracks, splits, or loose connections along the entire length. A small crack in the plastic tubing can spray water during regeneration cycles.
If the drain line is connected to a drain elbow or standpipe, check that connection. Tighten any loose clamps or fittings by hand. If tightening doesn't stop the leak, the connection may need a new seal or replacement fitting.
Water Softener Leak Repair: Replacing O-Rings, Seals, and Fittings
Once you've identified the leak source, repair depends on what's damaged.
Checking O-Rings and Seals
Remove the bypass valve handle by unscrewing the retaining clip or bolt. Look at the O-ring around the stem; if it's cracked, shrunken, or hardened, it needs replacement. Clean the stem and groove with a soft cloth. Apply a thin layer of food-grade silicone grease to the new O-ring, reinstall the handle, and tighten the retaining clip firmly.
Removing and Replacing Components
For cracked fittings or valve bodies, place a bucket under the fitting and use an adjustable wrench to hold the valve body steady while turning the fitting counterclockwise with another wrench. Wrap the threads of the new fitting with plumber's tape three times clockwise. Screw the new fitting in by hand first, then tighten with a wrench. Hand-tight plus one-quarter turn is usually enough.
| Component | Issue | Solution |
|---|---|---|
| O-ring | Cracked or hardened | Replace with new O-ring kit |
| Bypass valve stem | Leaking under handle | Replace O-ring around stem |
| Connection fitting | Loose or corroded | Tighten or replace with new fitting |
| Drain line | Cracked or split | Replace section or entire line |
| Bypass valve body | Visibly cracked | Replace entire bypass valve assembly |
Testing Your Repair and Returning to Normal Operation
Turn the main water supply back on slowly and open a faucet to let air escape. Turn the bypass handle back to the "service" position. Check the bypass valve and all connection points for drips. Let the system run for five minutes, then check again. A small amount of moisture is normal, but active dripping means the repair didn't work. If the leak persists, call a licensed plumber.
When to Call a Professional Plumber
Some leaks require professional expertise. Call a licensed plumber if:
- The bypass valve body itself is cracked or damaged
- The control valve is leaking (not just the bypass)
- You cannot locate or safely access the water shutoff
- The leak continues after you've tightened all fittings
- Water is leaking inside the tank or from the tank seams
- You're uncomfortable working with pressurized water systems
A professional can also diagnose whether your water softener needs repair or replacement. If your unit is over 10-15 years old and leaking, replacement may cost less than repeated repairs.
At AquaShield Home Systems, we help Northern Colorado homeowners troubleshoot water softener problems and plan repairs or upgrades.
A leaking water softener bypass valve doesn't have to mean an emergency call to a plumber. Most leaks stem from simple fixes like worn O-rings or loose fittings.
Frequently Asked Questions
What should you do first if a water softener bypass valve is leaking?
First, locate the main water shut-off valve and turn off your water supply to prevent further water damage. Next, place the water softener into bypass mode to allow water to flow directly through your home without passing through the softener tank. This stops the leak from affecting your water supply while you assess the damage. Only then should you inspect the bypass valve, connections, and surrounding fittings for the source of the leak.
How can you tell whether the bypass valve or a nearby connection is leaking?
Dry the area completely with a towel, then observe where water reappears. If water drips from the valve body itself, the internal seals are likely worn. If water sprays or drips from where fittings connect to the valve, the issue is usually a loose fitting or damaged O-ring at that joint. Check each connection point individually by tightening fittings slightly (do not over-tighten) and watching for changes in the leak pattern.
Can you use water while a water softener is on bypass?
Yes, you can use water normally when the softener is on bypass mode. In bypass mode, water flows directly through your home's plumbing without passing through the softening tank, so you'll receive unsoftened hard water. This is safe and allows you to maintain normal water flow while you repair the leak. However, you'll notice mineral buildup and reduced lather from soap until the softener is repaired and returned to service.
Why is water leaking from a water softener bypass valve?
The most common causes are worn O-rings or seals inside the valve body, loose fittings at connection points, or cracks in the valve body itself from age or pressure damage. Hard water mineral deposits can also damage seals over time. Water pressure fluctuations or a regeneration cycle can trigger leaks if internal seals are already compromised. Inspect all seals and connections first before concluding the valve body itself is cracked and needs replacement.